Contributor: Elephango Editors. Lesson ID: 10908
Make words, play with buttons, and become a computer helper using Microsoft Word!

Let’s Get Typing!
You can do all that with something called Microsoft Word!
It's like a big, blank piece of paper on your screen—and you get to be the author, the artist, and the designer!
Get ready to play, click, type, and explore!
What Is Microsoft Word?
Microsoft Word is a program on your computer that helps you write words, fix mistakes, and make your work look cool! You can write letters, stories, cards, or even silly jokes!

Step 1: Find and Open Microsoft Word
Look at your computer screen.
That’s the button for Microsoft Word!
If you can’t find it, ask a grown-up or teacher to help.
Double-click it to open it. That means click it two times fast with your mouse.
Now you’ll see a big white page. That’s where your words will go!
Step 2: Start Typing
Click anywhere on the white page.
That’s where your letters will go.
Now, use your keyboard to type your name.
Find the first letter of your name on the keyboard.
Press it once.
Keep typing until your whole name is there.
You just typed in Word! Ta-da!

Step 3: Make Your Words Fancy
Now, have some fun changing how your name looks!
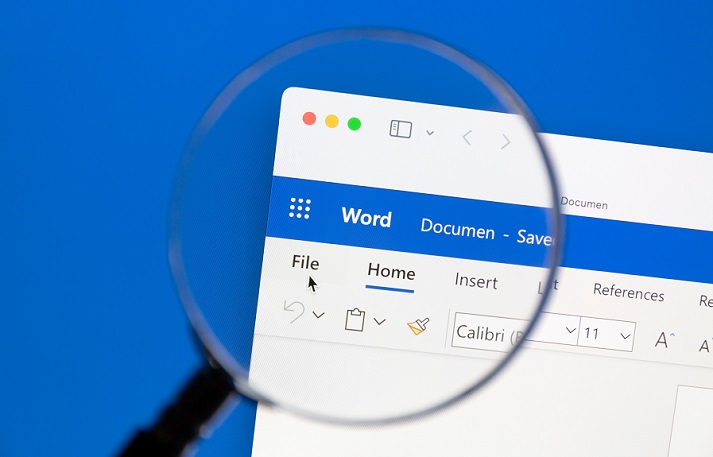
Look at the top of the screen. This area is called the toolbar, and it’s where the fun buttons live.
Try these.
Make it Bigger: Find the number next to the word “Font.” Click the little arrow and choose a bigger number.
Change the Color: Click the letter “A” with a color line under it. Pick your favorite color!
Change the Style: Click the box that says the name of a font, like "Arial." Try “Comic Sans” or “Chiller” for fun.
Your name is looking awesome now!

Step 4: Save Your Work
Don’t forget to save what you made!
Look for the little picture of a floppy disk at the top.
Click it once.
When a box pops up, type in a name for your file, like “My Name.”
Click “Save.”
Now your work is safe, and you can open it again later.
Keep going in the Got It? section for more Word fun!